Mapmaker - Buffer Area
When using the Map Maker to create photos you will notice each state has a dotted outline slightly inside of a solid outline. The image in between the two outlines is shown in greyscale. This is what we call the buffer area.
What you see while editing your map
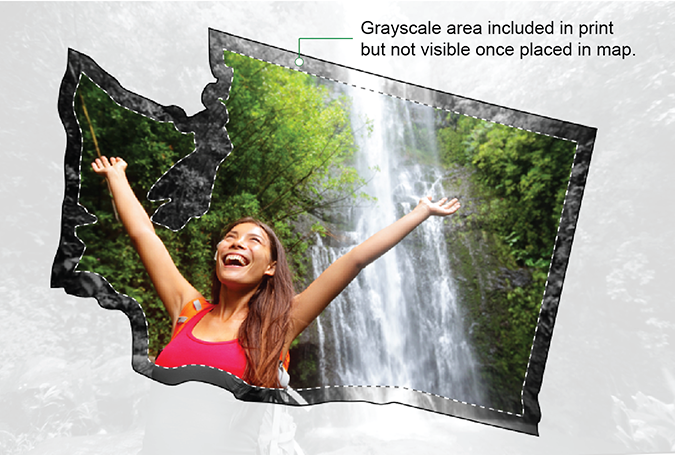
The purpose of the buffer area is to provide a margin of error when printing, cutting, and placing your photos in the map. In theory the buffer area should not be seen once your photo is in the map, but in reality it will often be slightly off. If you fill the buffer area completely with your photo(s) then you will not see any empty areas once it is in your map.
What the printable file will look like
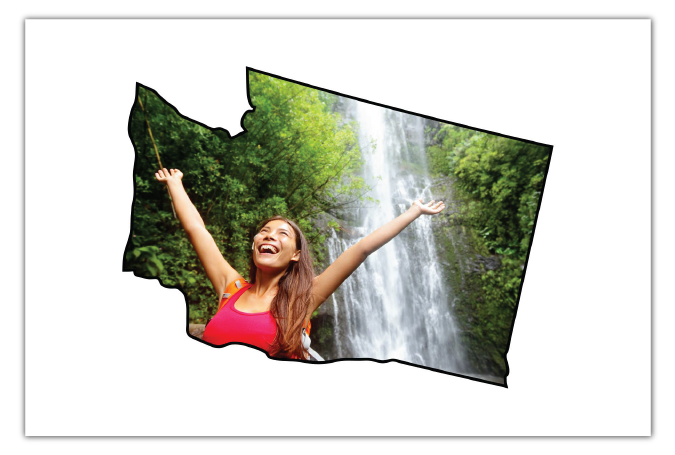
The photo above show what will actually be printed. Note that the buffer area is printed in full color, and the dotted line is not printed at all.
How it should be placed on your map
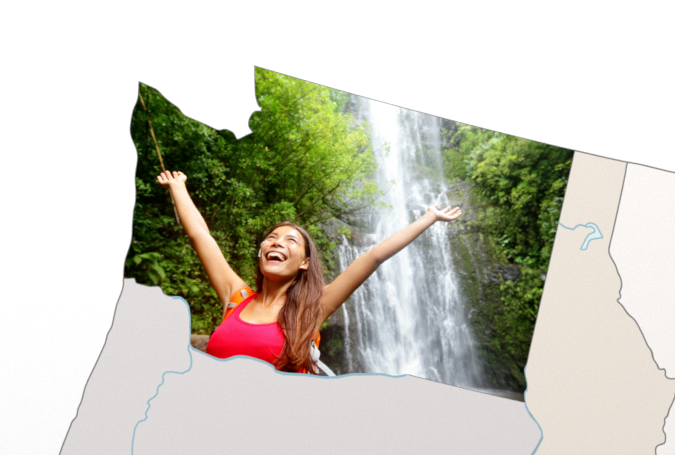
After cutting the photo out it should line up nicely with the state's border printed on the background of your map. Use tape, glue, or sticky tack to attach it there.
The final product!

When you place the mat boards back on top of the photo, the buffer area will mostly be hidden behind them. By filling the whole buffer area with your photo you can ensure no unsightly empty areas will be visible.